Dive into the world of acrylic painting with our Brush Mastery guide, crafted especially for beginners. This guide will provide you with a comprehensive understanding of the tools and techniques needed to start your artistic journey. From selecting the perfect brushes to mastering color blending, you'll learn the essentials that every aspiring artist should know. Embrace the creativity within you and transform a blank canvas into your very own masterpiece.
Key Takeaways
- Understanding the types of brushes and their specific uses is crucial for effective acrylic painting.
- Learning to mix acrylic paints to achieve the desired hues and effects is a foundational skill for any artist.
- Proper canvas preparation and mastering layering techniques are key to creating depth and texture in your artwork.
The Alchemy of Brushes and Colors: A Novice's Spellbook

Choosing Your Wand: A Guide to Brushes
In our quest to conquer the canvas, the first step is to arm ourselves with the mightiest of tools: the brush. But not just any brush will do! We must be as selective as a wizard choosing their wand. The brush is an extension of our artistic soul, and it's crucial to find the one that feels just right in our hands.
Let's break down the brush hierarchy, shall we? There are bristles that boast the strength of a knight's steed and others as delicate as a fairy's whisper. Here's a quick guide to the types of brushes you might encounter:
- Round Brushes: Perfect for detailed work and fine lines.
- Flat Brushes: Ideal for bold, sweeping strokes and filling in larger areas.
- Filbert Brushes: The versatile middle-ground, great for blending and soft edges.
- Fan Brushes: For texturing and creating multiple lines in one stroke.
- Angle Brushes: Excellent for sharp edges and precise control.
Remember, fellow artists, the magic lies not in the brush but in the hand that wields it. Choose wisely, practice relentlessly, and soon you'll be casting colorful spells across your canvas with ease!
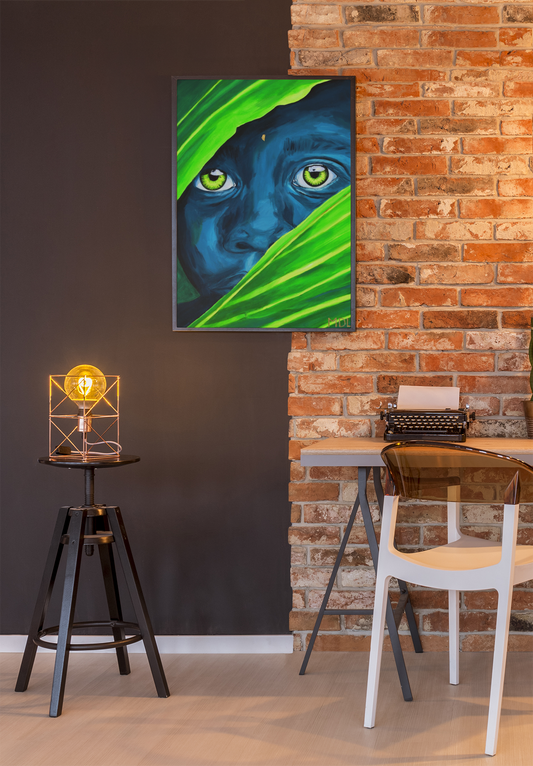
As we embark on this artistic adventure, let's not forget to peek at the portfolio of other masters. Inspiration is a key ingredient in our potion of creativity, and there's much to learn from the strokes of those who've walked this path before us.
The Potion of Pigments: Selecting Acrylic Paints
In the enchanting world of acrylics, choosing the right potion of pigments is akin to finding the perfect spell ingredients. We must be both alchemist and artist, stirring up a concoction of colors that will breathe life into our canvas. Imagine, fellow wizards of the brush, a palette where each hue sings in harmony with the others!
Starter sets are the treasure chests for budding magicians. A simple set might include a white for purity, a yellow ochre for warmth, an ultramarine blue for depth, and a cadmium red to set the sunset ablaze. With these four, you could conjure a view of the Golden Gate that rivals the real thing!
Remember, the magic lies not in the number of colors, but in the power they wield when mixed together.
Here's a quick checklist for selecting your acrylic paint starter set:
- High-quality, vibrant colors
- A good balance of light and dark shades
- Options for mixing to create a wide range of colors
- Long-lasting and fade-resistant
By adhering to these points, we'll ensure our artistic incantations are both potent and enduring. Let's embark on this colorful quest and fill our spellbook with the hues of imagination!
Casting the First Spell: Basic Brush Techniques
Now that we've chosen our trusty brushes, it's time to dip them into the magical world of acrylics and cast our first spell! Remember, fellow artists, the wand chooses the wizard, but the brush technique defines the painter. Let's start with a simple flick of the wrist to create a stroke that's as smooth as a potion's surface.
Boldly go where no novice has painted before, and fear not the canvas! It's just a silent partner in this enchanting dance. Here's a little incantation for you: Pressure, angle, and movement are the sacred trifecta of brushwork. Practice these with the devotion of a sorcerer's apprentice, and you'll soon be conjuring up masterpieces.
- Pressure: Light for whispers of color, firm for bold statements.
- Angle: Tilt your brush like a quill for fine lines, flat for wide strokes.
- Movement: Glide gracefully for smooth transitions, dab for textured magic.
By mastering these basic techniques, we're not just painting; we're whispering sweet nothings to the canvas, and it will surely whisper back with a masterpiece.
Mixing the Elixir: Blending Colors Like a Pro
Ah, fellow artists, we've arrived at the alchemy of painting—blending colors! Boldly we step into the realm of vibrant hues, where the magic truly happens. To achieve those eye-popping blends that make your heart sing, remember to mix your colors with love and a dash of patience on the palette.
- Start with two colors you wish to blend.
- Add a tiny bit of water to each for that perfect consistency.
- Use a clean brush to gently merge the colors on the canvas.
Blending is like a dance between pigments, where each color takes its turn to shine.
Remember, the wet-on-wet technique is your best friend for seamless transitions. It's a simple spell, but quite unbreakable. And if you're ever in doubt, just whisper to your palette, 'Show me the magic!'
From Blank Canvas to Masterpiece: Your Artistic Journey

Preparing the Parchment: Priming Your Canvas
Before we let our brushes dance across the canvas, we must first set the stage for our acrylic performance. Think of priming as the pre-show ritual that ensures a smooth performance. Acrylic gesso is usually white, but here's a fun fact: you can tint it with a dash of acrylic paint to make your canvas sing in any color you fancy!
- Start with a clean canvas, free from the dust of past adventures.
- Apply a thin, even coat of gesso, like spreading magic potion over a wizard's scroll.
- Allow the gesso to dry completely; patience is a virtue, young artist!
- Add a second coat if you seek a surface smoother than a unicorn's daydream.
Remember, a well-primed canvas is the secret to a spellbinding painting. Clean spills promptly, keep a paper towel handy, and you'll avoid the curse of the messy mage.
Enchanting Sketches: Outlining Your Art
Before we dive into the sea of colors, let's anchor ourselves with a sturdy sketch. Think of it as your treasure map, guiding you through the mystical lands of your canvas. Sketching is like whispering secrets to your painting, telling it where the magic will happen.
How to Sketch Out a Painting and Create a Painting Sketch, you ask? It's simpler than brewing a potion! Just follow these steps:
- Lightly draw the basic shapes with a pencil.
- Refine the outlines, adding details and character.
- Erase any unnecessary lines for a clean slate.
Remember, your sketch is the skeleton of your masterpiece; it doesn't need to be perfect, but it should be strong enough to support the layers of paint to come. And don't worry if you make a mistake - that's what erasers are for!
Keep your lines as light as a feather, or you'll have a hard time casting them away later!
Now, let's not dilly-dally! Grab your trusty pencil and let the enchantment begin. With each stroke, you're one step closer to bringing your vision to life. Happy sketching, fellow artists!
Layering Magic: Building Depth and Texture
Ah, the art of layering! It's like making a lasagna, but instead of pasta and cheese, we're stacking shades and textures to create something that tickles the eyeballs. Layering is the secret sauce that gives your painting the oomph it needs to stand out in a gallery—or at least on your mom's fridge.
Depth and texture are the dynamic duo of the acrylic world. They're what make your flat canvas come to life, whispering tales of distant mountains or the roughness of a dragon's scales. Here's a quick spell to conjure up some depth:
- Start with your lightest colors.
- Add medium tones, like a wizard adding herbs to a potion.
- Finish with your darkest shades, as if you're adding the final note to a symphony.
Remember, young artist, the magic happens not just with the brush in your hand, but with the patience in your heart.
And for those of you who love a good checklist, here's one to keep your layering enchanting:
- Ensure your previous layer is dry before adding a new one.
- Use thin layers to avoid the dreaded 'mud' effect.
- Experiment with different brush strokes for unique textures.
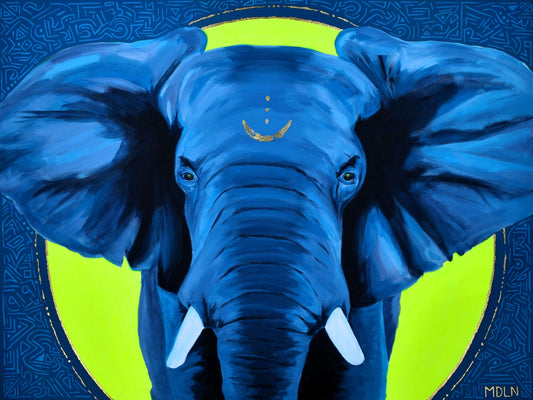
By the way, if you're looking to adorn your castle walls with your masterpieces, our website offers original prints, puzzles, and commissions. You'll find everything from black & white to canvas, and poster prints. Plus, there's a whole portfolio to peruse and an FAQ section for your most pressing inquiries!
The Final Reveal: Sealing Your Creation
And now, the moment we've all been waiting for: the grand finale, the cherry on top, the pi\u00e8ce de r\u00e9sistance! It's time to seal the deal, or rather, your masterpiece. Let's make it shine like the top of the Chrysler building!
But before we get too carried away with our sealing shenanigans, let's talk shop. Sealing your acrylic painting is like whispering a secret spell that ensures its longevity. It's the invisible shield that wards off dust, UV rays, and the occasional coffee spill from your less-than-graceful cat.
Remember, a good sealant is like a good friend: always there to protect you, even when you're not looking.
Here's a quick checklist to ensure you've got everything you need for this crucial step:
- A well-ventilated area (for those of us who prefer not to get a head rush)
- Your chosen sealant (like the title: Crystal Clear Acrylic Coating | Krylon\u00ae Spray Paint)
- A steady hand (or a friend with a steady hand)
- Patience (because good things come to those who wait... for paint to dry)
Once you've gathered your supplies, it's as simple as applying an even coat and letting it dry. Voil\u00e0! Your artwork is now ready to withstand the test of time and the occasional art critic.
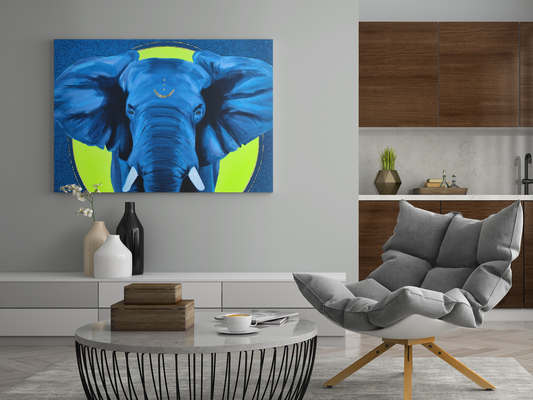
Embark on an inspiring voyage from a blank canvas to creating your very own masterpiece. Your artistic journey is unique, filled with moments of creativity, learning, and growth. We invite you to visit our website to discover resources, tips, and guidance that will illuminate your path to becoming an artist. Whether you're picking up a brush for the first time or refining your technique, let us be your guide. Click here to start your journey with us today!
The Grand Finale of Brush Strokes and Giggles
And there you have it, folks! You're now equipped with the know-how to turn that blank canvas into a riot of color that even a unicorn might envy. Remember, every masterpiece starts with a single brush stroke (or a splatter if you're feeling rebellious). So, grab those brushes, squeeze out a rainbow of acrylics, and let your inner Picasso run wild. Who knows, your living room wall might just become the next Louvre (or at least a conversation starter at your next dinner party). Keep practicing, keep laughing, and most importantly, keep creating—because in the world of acrylic painting, every 'oops' is just an 'eureka' in disguise!
Frequently Asked Questions
What are the essential brushes I need to start acrylic painting?
As a beginner, you should start with a few basic brushes: a flat brush for bold, straight strokes; a filbert brush for blending and soft rounded edges; and a round brush for detail work and thinner lines. Look for synthetic bristles as they are more durable with acrylic paints.
How do I select the right acrylic paints?
When selecting acrylic paints, consider the pigment concentration, viscosity, and drying time. Higher quality paints will have more pigment and provide better coverage. You can start with primary colors (red, yellow, blue), black, and white, which can be mixed to create a wide range of shades.
How can I prevent my acrylic paints from drying too quickly?
To prevent acrylic paints from drying too quickly, you can use a palette with a moist sponge underneath, work in a cooler environment, or mix in a slow-drying medium with your paints. Additionally, keeping a spray bottle with water handy to mist your palette can help extend the working time of your paints.